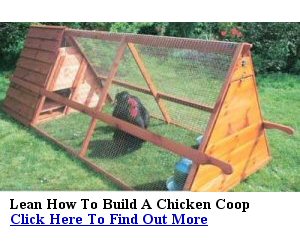
Knowing how to build a chicken coop is essential if you’re looking to create a steady, self-sufficient source of food.
With rising food costs and a growing interest in sustainable living, many people are turning to backyard chickens not only for fresh eggs and meat but also as a way to reduce dependency on store-bought supplies.
A good chicken coop will protect your flock from predators, bad weather, and disease, ensuring a consistent supply of eggs and, if desired, meat for the table or for sale.
With a solid setup, you can manage and grow your flock with confidence, knowing that your chickens are secure, healthy, and productive in a space that meets their basic needs.
How to Build a Chicken Coop Quick Guide
To build a chicken coop, start by choosing a high, well-drained spot close to your home, which will make egg collection, cleaning, and predator monitoring easier.
The coop should face south to maximize sunlight for warmth and egg production.
A strong foundation is essential: consider a concrete slab or a raised platform using pressure-treated lumber to keep the structure sturdy and protect it from moisture.
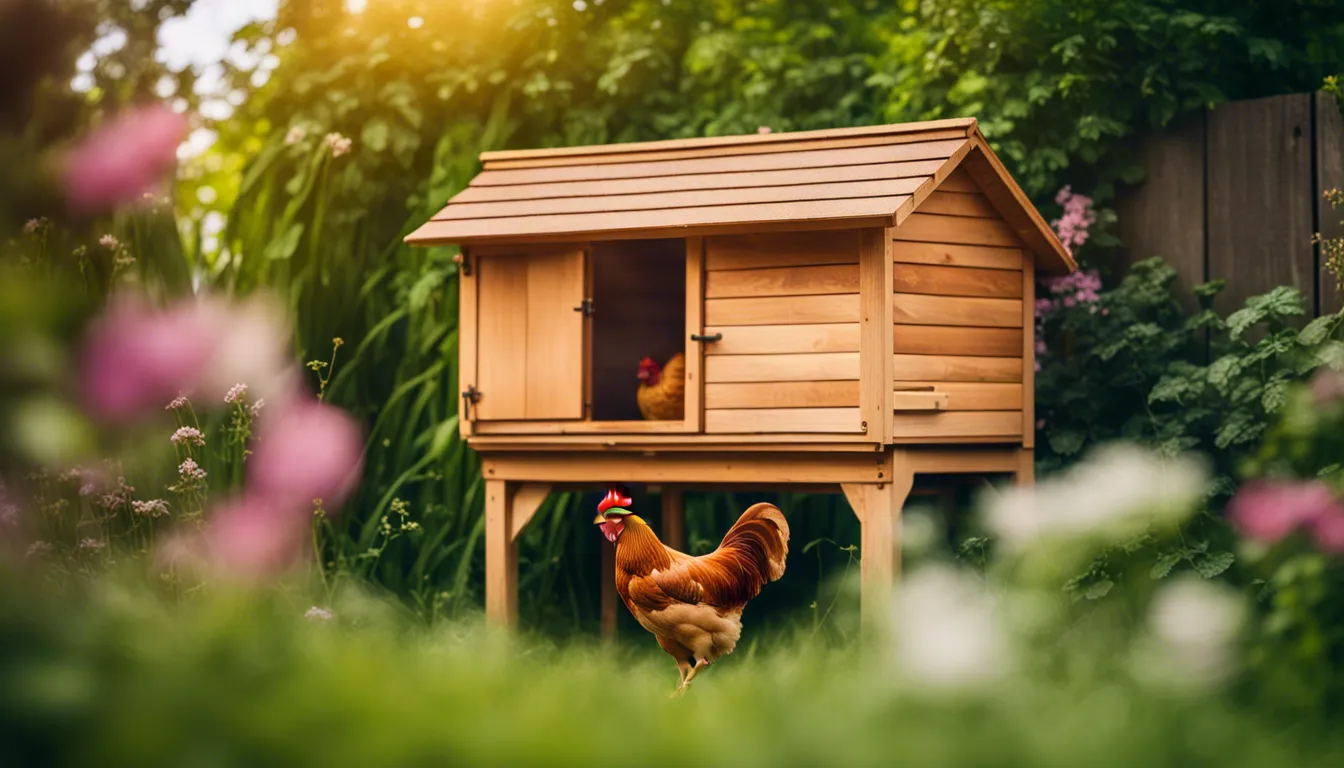
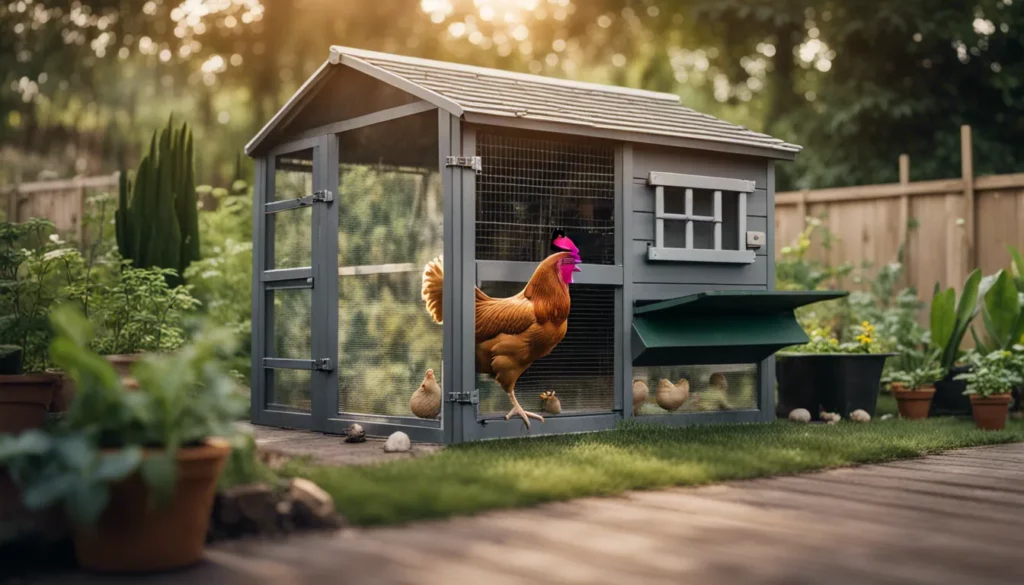
Construct a robust frame with 2x4 boards, then add walls, a roof, and secure, predator-proof entrances with hardware cloth instead of chicken wire.
Inside, include roosting bars, nesting boxes, and a dust bath area to meet your chickens’ natural needs.
Proper ventilation, with covered openings near the ceiling, will prevent moisture buildup.
Finally, fence off an outdoor run area to give them safe space to roam.
Cost Considerations and Budget Planning
The cost of a chicken coop can vary greatly based on the materials you choose and the design you have in mind.
A simple DIY project might cost anywhere from $200 to $400, depending on the size and complexity, while pre-built coops usually start between $200 and $300.
While pre-made options may seem like an easy choice, building your own coop can offer more longevity and customization.
One of the easiest ways to cut costs is by using recycled materials or repurposing scrap wood.
Many lumber stores sell offcuts for a fraction of the price of new materials.
However, the more expensive elements of the coop tend to be the hardware, such as the metal roofing, locks, and any materials needed for added security. These components are essential for keeping your chickens safe from predators, so it’s worth spending a bit more on them.
When budgeting, remember that the size of the coop and any special features you add, like nesting boxes, ventilation systems, or insulation, will affect the final cost.
The added features are important for maintaining a healthy, comfortable environment for your flock, but you don’t have to break the bank to include them.
A little creativity can help you create a functional, secure coop without overspending.
How to Build a Chicken Coop: Step-by-Step Instructions
Whether you choose to design it yourself or follow pre-made plans, the overall process is straightforward and manageable.
The key is breaking the task into clear steps and tackling them one by one.
Depending on the complexity of the design and your experience, this project could take a few weekends.
If you’re new to construction, allow extra time to work through each stage carefully.
Take the time to measure and double-check everything along the way, and don’t rush.
Step #1: Picking a location for your chicken coop

Look for an area that’s elevated and well-drained to prevent flooding during heavy rain.
A dry environment will help avoid issues like mud and dampness that could affect your chickens’ health.
Ideally, the coop should be situated close to your house. This makes daily tasks, like collecting eggs and cleaning, much more convenient while also deterring potential predators that are more likely to venture farther from your home.
Positioning the coop with the entrance facing south allows it to soak up more sunlight throughout the day, which is essential for warmth and encouraging regular egg laying.
On hotter days, having a few nearby trees can offer much-needed shade, giving your chickens a cool, comfortable place to retreat.
Step #2: Gather materials and tools for your chicken coop

Start with pressure-treated lumber for the legs and foundation to ensure your coop is sturdy and can withstand weather conditions.
For the rest of the structure, unfinished wood is a great option, as it’s functional and cost-effective.
It’s also important to stock up on hardware cloth, nails, screws, and the right roofing materials. These are the building blocks that will keep your chickens safe and dry.
In terms of tools, you’ll need a few basics: a drill, framing square, saw, hammer, and a measuring tape are the most essential.
A level will help ensure everything is properly aligned, while a router and framing nailer can make the job quicker and more precise, especially if you’re working with thicker wood.
Keep in mind, if you’re on a tight budget, using recycled materials like pallets can cut costs.
However, the hardware cloth and metal parts, which ensure security, can still be the more expensive aspects of the build.
The amount of materials and tools you’ll need depends on how large and complex you want your coop to be.
Make sure you plan ahead and gather everything before you start the project.

Step #3: Proper sizing and spacing for happy chickens

Chickens aren’t happy being cramped, so make sure they have enough room to move freely.
If your chickens have access to an outdoor run, you should provide at least 4 square feet per bird inside the coop. If they don’t have a run and will be confined to the coop, you’ll need to give them 8 to 10 square feet each.
Larger breeds, such as Jersey Giants, require a bit more space — about an extra square foot per bird. This extra room helps reduce stress, minimize aggressive behavior, and make it easier to maintain good hygiene, which is essential in preventing the spread of diseases.
Before deciding on the size of your coop, think about how many chickens you plan to house.
For instance, an 8’x12’ coop provides 96 square feet of space, which is ideal for up to 20 chickens. This space allows them room to move, roost, and nest comfortably.
Step #4: Adding essential features for a functional chicken coop design

Start with the nesting boxes, which are a must-have.
You’ll need one for every 3 to 5 hens, each with enough room — about one square foot per box.
Position the boxes just below the roosting bars so chickens can naturally move between the two areas. This setup mimics their natural behavior and encourages them to lay eggs in a comfortable and secure spot.
Speaking of roosting bars, these are essential too.
Chickens need at least 8 inches of space per bird, with the bars placed around two feet off the ground. This gives them a safe, elevated area to rest at night, where they feel secure from predators and can sleep undisturbed.
To keep your chickens healthy and happy, consider adding a dust bath filled with sand or dirt.
Chickens love to dust themselves to stay clean, prevent pests, and maintain their feathers. It’s a natural grooming method that they’ll use regularly.
Make sure the design of your coop allows for easy access, too. It should be simple to get in and out for daily chores like cleaning, feeding, and collecting eggs.
The more accessible the coop, the less stressful it is to take care of your chickens.
If you live in a colder climate, you might also want to think about adding electricity to your coop.
This can power things like a water heater to prevent freezing in the winter, lights for early morning or late-night chores, and even extra heating to keep your chickens comfortable during harsh weather.
Step #5: Predator-proofing your chicken coop
Protecting your chickens from predators is a top priority when building a coop.
Whether it’s coyotes, foxes, raccoons, or even household pets, the right measures will ensure your flock remains safe.
A few strategic design choices can make all the difference.
Start by raising the coop 8 to 12 inches off the ground. This simple step helps prevent snakes from sneaking in, which can be a serious risk to both your chickens and their eggs.
Next, focus on securing all the entry points.
Predators like raccoons are smart and can easily open weak latches.
To outsmart them, use sturdy eye hooks or carabiners on doors and windows. These types of fasteners are much harder for raccoons to manipulate and will keep your chickens safe when you’re not around.
When it comes to the walls of the coop, avoid using standard chicken wire.
Although it may seem like a cost-effective choice, chicken wire can be easily breached by many animals.
Opt for 1/2-inch hardware cloth instead. It’s much stronger and provides a far more secure barrier against determined predators.

Chicken Coop Maintenance and Cleaning

Regular maintenance not only reduces the risk of harmful bacteria and unpleasant odors, but it also ensures that your chickens have a comfortable, hygienic space to live in.
Flooring system
Start by creating an easy-to-clean flooring system.
A popular choice is unfinished plywood covered with fresh wood shavings or straw. This makes it simple to remove soiled bedding daily, which is key to preventing the buildup of bacteria.
If you want even less hassle, you could also consider using rolled linoleum, which offers an effortless way to wipe down surfaces and keep things clean.
Preventing wood rot
Raising the coop off the ground has multiple benefits.Not only does it make the underside of the coop more accessible for cleaning, but it also prevents wood rot.
Adequate ventilation is another critical aspect of maintaining a healthy environment for your chickens.
Without proper airflow, moisture and ammonia can build up in the coop, potentially leading to respiratory issues. Good ventilation helps control these elements, ensuring that the air stays fresh and safe for your chickens.
Daily spot cleaning
Daily spot cleaning is necessary to keep the coop in good shape, but don’t forget to give it a deep clean at least twice a year. Spring and fall are ideal times to do this.
A simple disinfecting solution made of white vinegar and water works wonders to kill germs and odors without the harmful effects of bleach.
Don’t forget to give the feeders, waterers, and nesting boxes a good scrub as well, as these areas can harbor bacteria and need regular attention.
Conclusion
A well-planned chicken coop makes all the difference between success and failure in raising backyard chickens.
When you pay attention to proper spacing, choose quality materials, and focus on safety features like predator-proofing and ventilation, your chickens will thrive in their new home.
Though building a coop requires an investment of $200-400 and several weekends of work, the result is worth it; a sturdy shelter that will house your flock for years while enhancing your backyard homestead.